
Ox Locker and 4.09:1 Gears Installation in a Dana 44
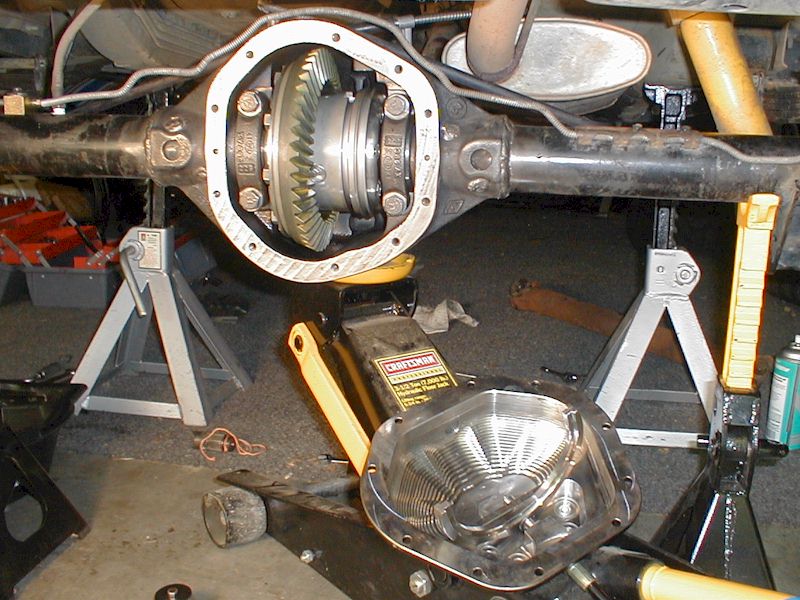
I'm replacing my original Dana 35c rear axle with a Dana 44 axle out of an '88 XJ. The new axle is stock and needs the proper gears, a locker, and new brakes. The next step is selecting the locker.


Which Locker?
I was happy with my two ARB lockers. I love the selectability and they never failed to perform. In the back of my mind, however, I always feared a single problem, like a broken compressor, taking out both lockers. Of course, that's the standard Detroit locker argument... "They leak!" I would have been comfortable buying a third ARB locker for the new Dana 44, but for the sake of being different, I thought I would try something else. I thought briefly about trying a Detroit in the rear. The selectability of the ARB, however, was really nice, so when I found out about the recently released Ox Locker, I decided to give it a try.
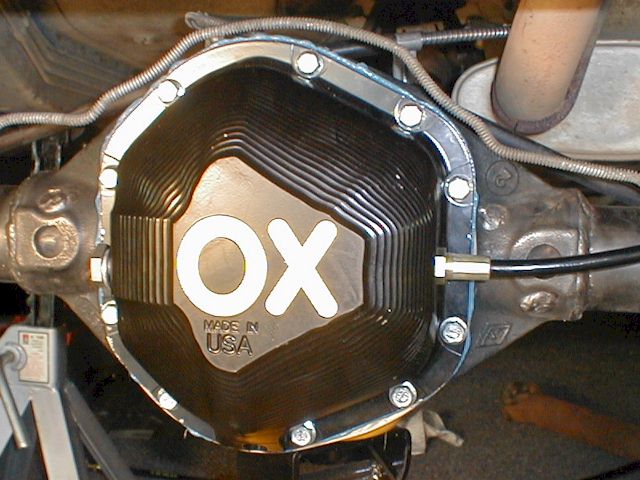
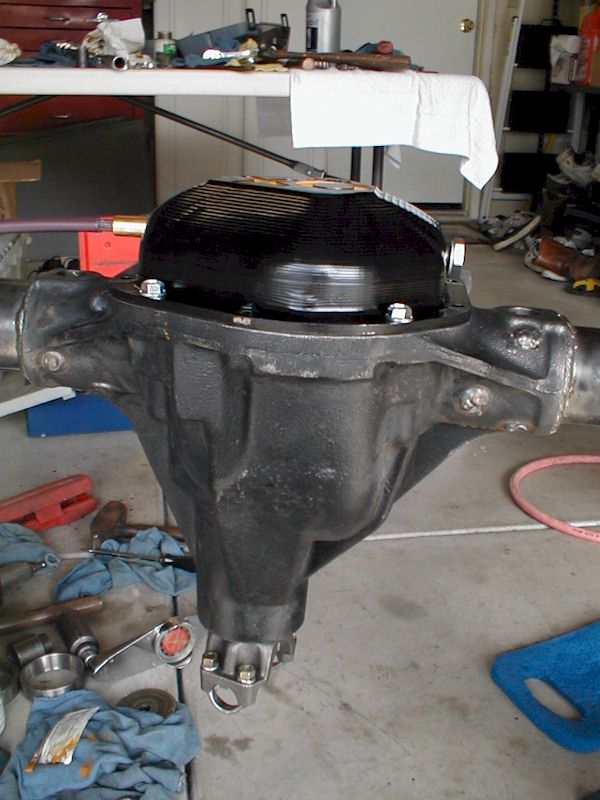
The Ox locker is an expensive piece of hardware. It's even more now than when I bought mine. The cable was included with my purchase, but is now an extra cost. I justified the extra expense with my three-pronged self-delusional arguments. (Hey, at least I'm honest!) Part of the reasoning behind the Ox purchase was to eliminate the single point of failure. Good. Another advantage was the immensely strong differential cover. The billet steel cover, which houses the shifter fork, would eliminate the need for a ~$80 diff guard. That worked. A third theoretical advantage was the easier installation... no hole to drill for the air line in the housing. Boy, was I wrong about the easy installation.

Keep in mind that I love the Ox Locker, and I would buy one again. However, there were problems we encountered during the installation, and here they are:
| Problem | Solution |
| Defective cable | The shift cable sheath was pulling away from the crimp nut. The original brown cable was replaced with a new style black cable. |
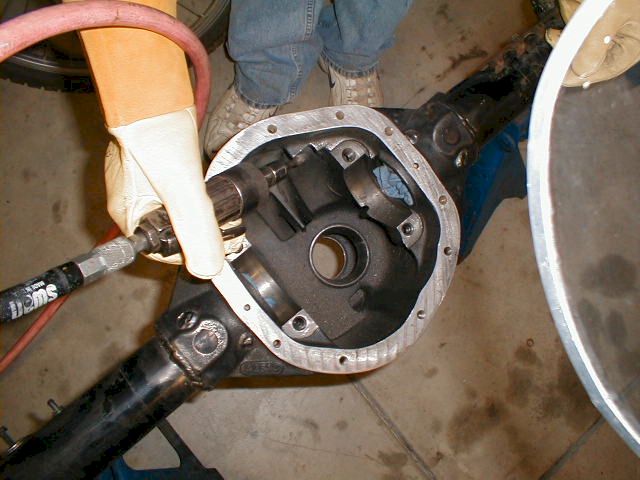
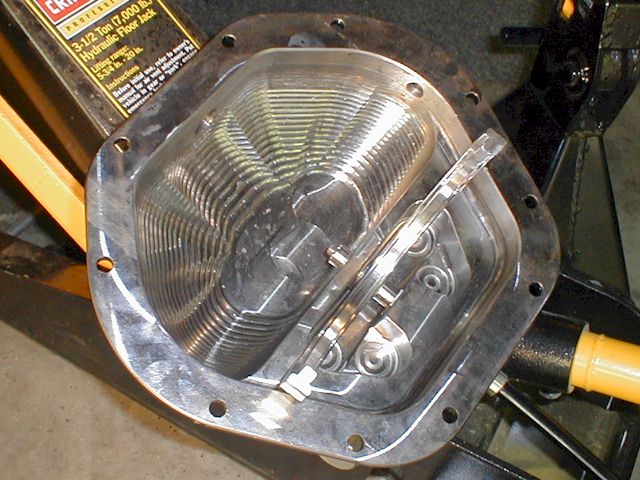
| Inadequate amount of material removed from internal flange | To install the Ox locker in the Dana 44, part of an internal flange in the diff housing must be cut away. The instructions had us cut too little and the shift fork interfered. We were nearly finished, but had to tear down the entire diff to re-grind the flange. |
| Pinion tooth/locker interference | There was no mention in the early documentation about the pinion/locker interference. Imagine our shock when the teeth started binding on the carrier! The Ox carrier is so big and strong, it can touch the pinion teeth. Newer versions of the instructions discuss grinding the pinion teeth. Not a big deal, but I question the design of the carrier. I think ease of installation was sacrificed for the overkill strength. |
| Shift fork/carrier binding | After tightening the diff cover, the shift fork would not move. The instructions did not mention the critical adjustment between the fork and the carrier. Instead of using only RTV to seal the cover, I used RTV and a cork seal. The seal (sent by OxTrax) provided the necessary gap. |
| Carrier out-of-round | The runout on the carrier is not perfect. It was enough out-of-round that Jess mentioned it. Not bad enough to be upset, just not great. The wobble causes the gear pattern to vary as the carrier spins. The problem could have been in my housing. |
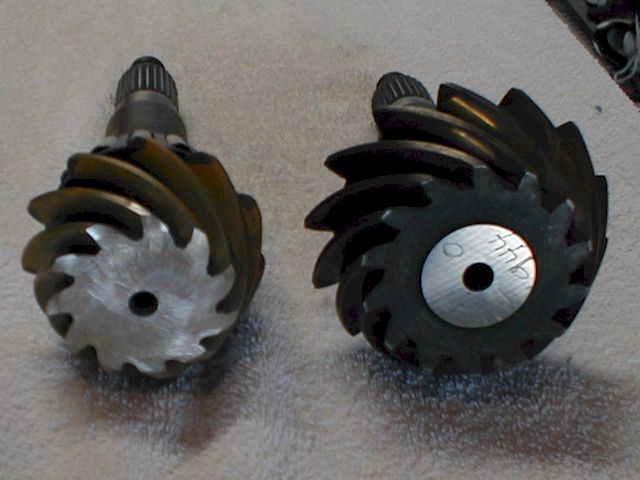
| Inadequate shifter throw | My early shifter did not provide as much throw as the later versions. Shifter throw equates to locker tooth engagement. I met OxTrax co-owner, Laz, in Moab and he happily gave me a new shift plate that allows more throw. OxTrax widened the lock-stops, and added the cool "O" and "X" marks. I still think it needs more throw, but unless I break it, I'm happy. |
Installation of Ox Locker
As listed above, I encountered many problems during the installation of the Ox locker. I should say Jess and I encountered them, because he did most of the actual work on the differential. Some of the issues are inherent with the design, some were because of missing instructions, some are resolved with more mature versions of the parts, and some were our problem. We had never installed a locker like this before.
Overall, the positives far outweigh the negatives. The instructions, for example, are the most detailed and accurate I've encountered. There are many pages of clear text and detailed images. I'll bet they're even better now; the addendums faxed to me are no doubt part of the standard documentation. Plus, the owners of OxTrax are enthusiastic and energetic about their product. They're happy to help you and glad to improve their product in any way possible.
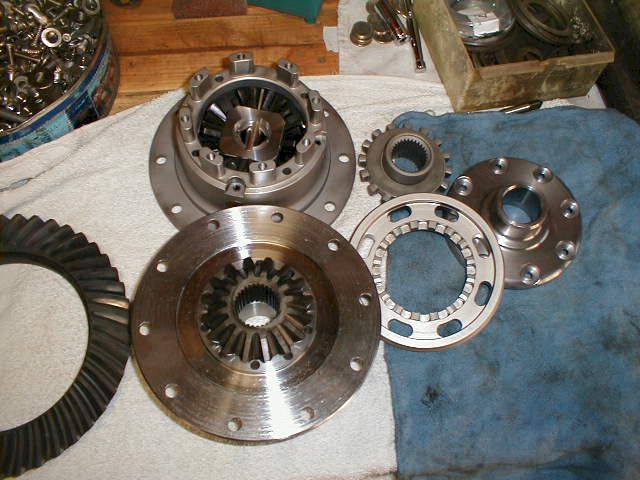
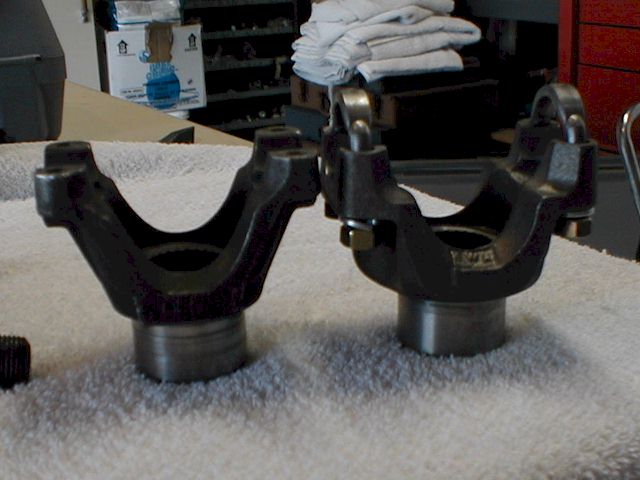
The Ox Locker really is a thing of beauty. It's the beefiest, most macho piece of hardware I've seen in a while. It's simple and strong. I would buy one again, no question, and if I ever upgrade the front axle to a high-pinion Dana 44 I'll probably get another Ox Locker.
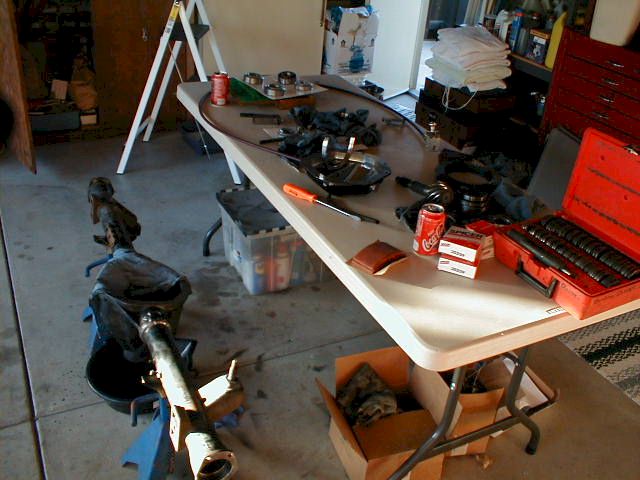
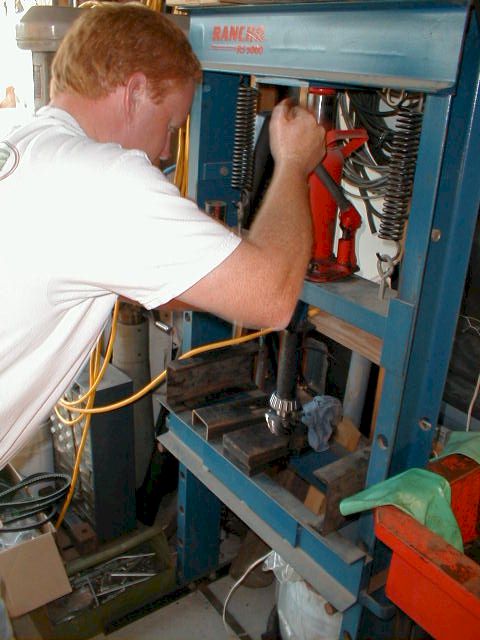
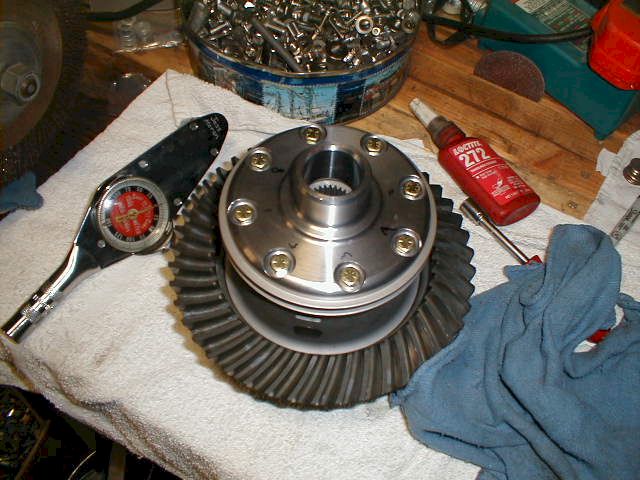
I've never learned to set up gears before, so I asked Jess to help me. There are plenty of how-to articles, so I'll skip those details. We tore down the axle, and cleaned everything up. We assembled the locker, including the ring gear. Then he did the gear set up.

To match the front, Brent sold me a set of 4.09:1 gears from a '73 Bronco. The gear selection was a sticking point for me. If I didn't have to match the 4.10:1 gears in front, I would probably have switched to 4.56:1 gears. There's a strong chance I'll go to 33" tires in the future, and I think the shorter gears would help a lot.

| Gear Ratio (Ring/Pinion) |
Number of Ring gear teeth |
Number of Pinion gear teeth |
Common Applications |
| 4.09:1 | 45 | 11 | Dana 44 |
| 4.10:1 | 41 | 10 | Dana 30 and others |
| 4.11:1 | 37 | 9 | Ford 9" |
BTW, have you wondered why there are sometimes slight differences in gear ratios? Or why some people say, "four-ten" or "four-eleven" gears? It's due to a difference in tooth count on the ring and pinion. For practical purposes, these are all considered to be the same ratio. I've got 4.10 in front and 4.09 in the rear. The slight difference doesn't hurt.
Installation of Ox Shifter
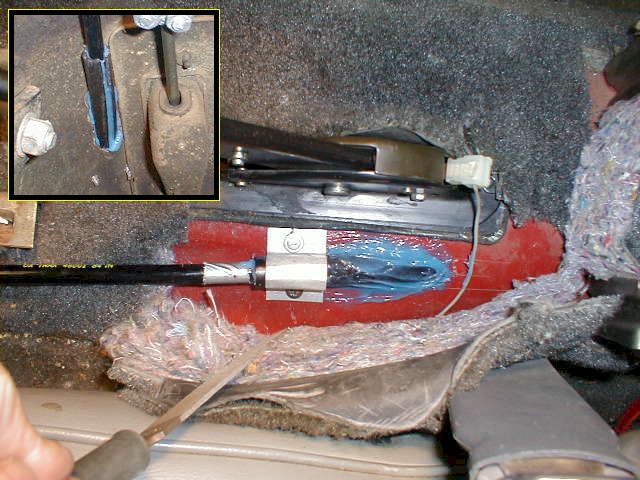
One of the tricky parts of the Ox Locker installation was the routing of the cable and placement of the shifter. Am I the only one who's having trouble finding places to mount things in an XJ? I doubt it. I finally found a nice place for the Ox shifter. It's more convenient than my ARB switches, too. The shift cable is not very flexible, so you really don't have much choice... it needs big, lazy bends. From the rear axle, the cable bends up behind the gas tank, and forward along the e-brake cable (not attached to the e-brake cable, of course!). It enters the cabin just to the right of the e-brake handle. Using a Uni-bit (step drill) and a file, I created an oval in the tunnel. The cable feeds nicely through the hole and is protected by a piece of hand-split fuel hose. RTV silicone seals the gaps and a bit of sheet metal is used to clamp the assembly in place. All this is hidden by the center console.
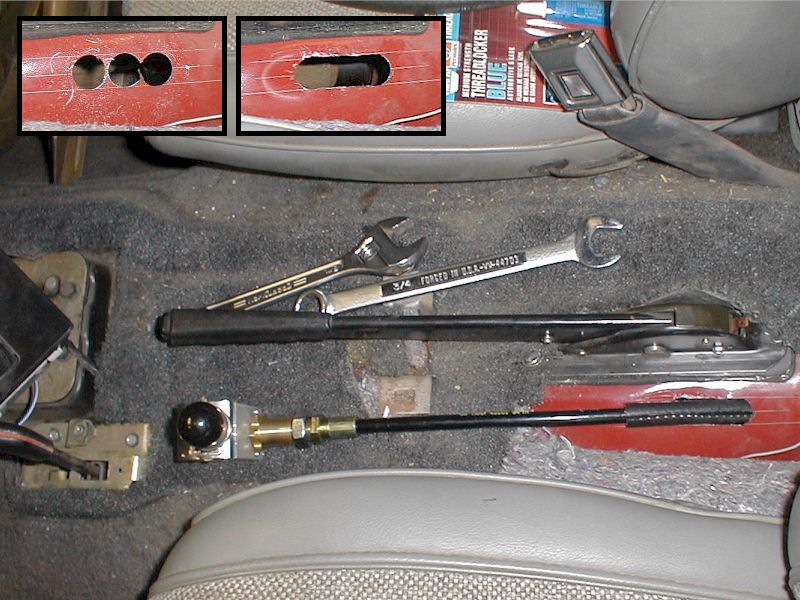
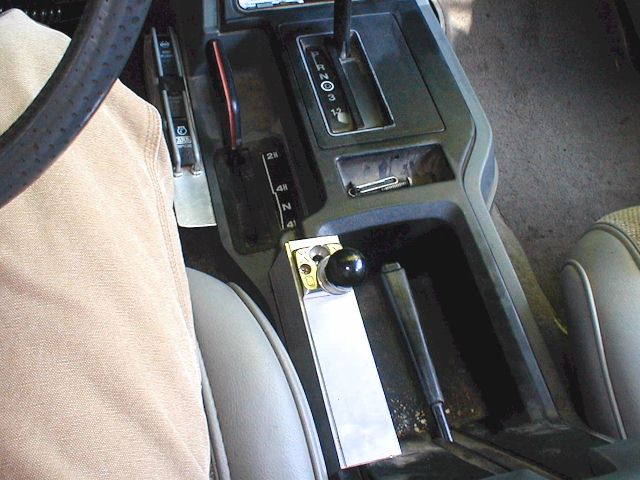
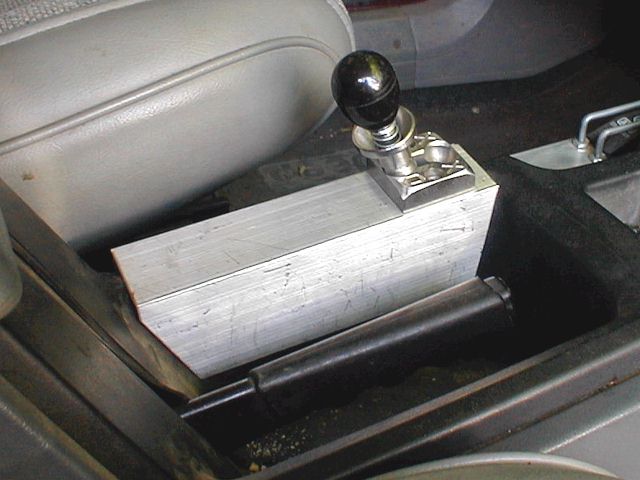
The shifter peeks through the console to the right of the e-brake handle and behind the transmission shifter. The console is shrouded by a couple of pieces of aluminum. The aluminum provides a strong mounting point for the shifter. I think the console plastic by itself would hold up at first, but could eventually crack without the metal reinforcing. I find myself constantly locking and unlocking the Ox, so the shifter really gets a workout. The shifter is in a great place ergonomically. To activate the ARB switches, I have to shift my body forward, but the Ox shifter is at-hand.

New OxTrax Developments
There are a couple more changes to the Ox Locker since I bought it. A simple change is the optional addition of a return spring inside the diff cover. Without the spring, the locker must be engaged via arm-power, but disengages automatically (simply pop the shifter out of the lock-stop). Adding the new spring reverses this behavior, so that the locker will automatically engage, but takes effort to disengage. I have the spring, but haven't installed it. If I was starting from scratch, it would be easy. Adding the spring at this stage would mean re-adjusting the cable. That's kind of a pain and I'm used to the locker as it works. Maybe some day I'll try the new style. Maybe not.
In case there's a problem with the cable... I suppose backing into a big rock could damage the cable... it can be replaced with a bolt. I've got to remember to find out what size bolt to buy and add it to my bag of tricks. Replacing a damaged cable with the simple bolt will force the locker to be engaged full-time... a nifty trick in an emergency.
There's another, more significant addition to the Ox Locker product line rumored to be in the works... their so-called electric locker. It's not really an electric locker like the new Wrangler Rubicon locker or the Land Cruiser locker. With the OxTrax system, an electric shifter simply replaces the manual shifter, either of which operate the cable. It's probably a cool system, but I can't imagine fitting another piece of equipment in my cab! I'll stick with the manual system.
On the Trail
I've really gotten to know the Ox Locker as I drive more and more trails. From an activation/deactivation standpoint, it's totally unlike the ARB Air Locker. The ARB, of course, is activated by an electronic switch, so you're isolated from what's happening inside the diff. The Ox, on the other hand, is cable actuated. As you apply pressure to lock the carrier, you can feel the teeth bumping and finally engage. You know when you're locked. Shifting into the lock position is getting easier, too. I think it's a combination of the system "breaking in" and of me getting better at shifting... mostly the later.
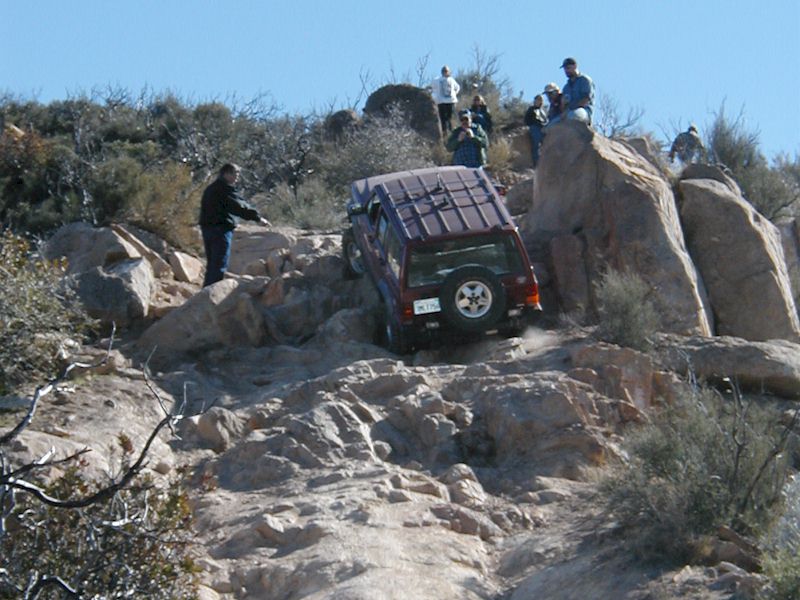
My typical 'wheeling style is to approach an obstacle with the intention of driving through with open diffs. I've become a much better driver over the past couple of years, and I give credit to my trying the tough sections first open, then locked if necessary. The amount of traffic on the trail usually determines how long I'll try to succeed open before locking first the rear, then the front diff. I don't like holding up folks, especially on a busy trails like Moab EJS or Sierra Trek.
Anyway, the Ox Locker works great. I don't have to worry about it once it's engaged (and again, I know when it's engaged because I can feel it through the cable). Like a spool it's completely predictable, and it makes 4-wheeling fun. Thanks again to Jess for helping me with the installation. It's a fantastic product.
MadXJ has a nice article about this same install. The author didn't run into some of the problems that I did, or at least he didn't mention them.